Pixelcut

Practical inspiration

Turn pixelcut examples free into your own image ideas

Use these Pixelcut-inspired scenarios to plan a product image, a social post, or a wider composition. Each example starts with a clear source image and ends with a specific output to check.

Check the result before sharing
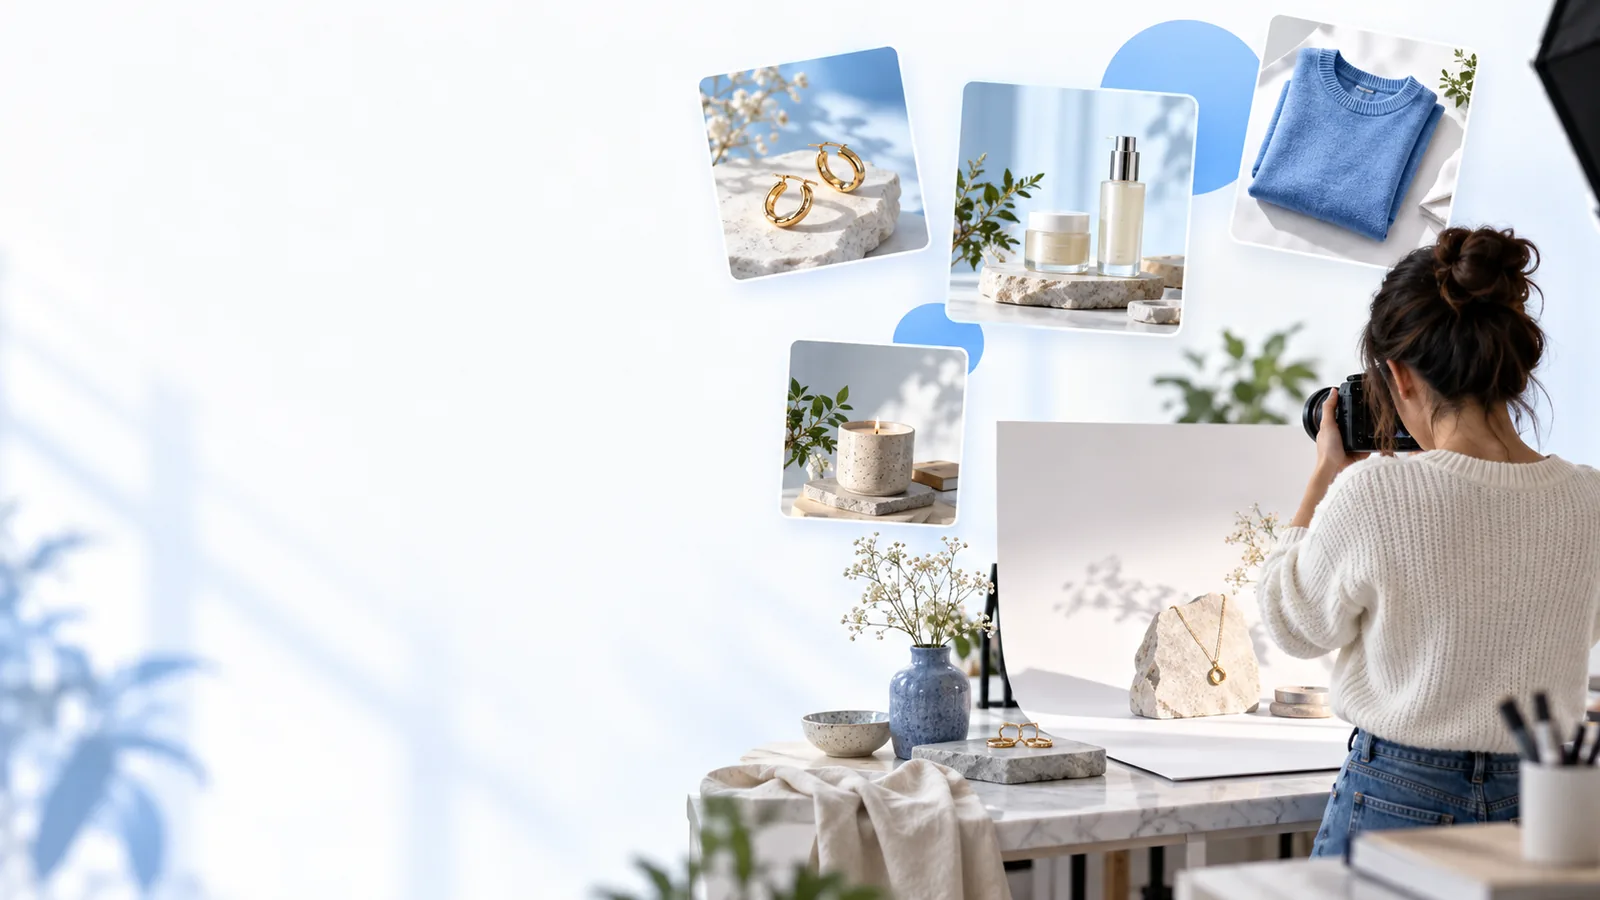
Example of a polished product image with a simple studio-style presentation

Three concrete workflows

These are starting points, not guaranteed results. Keep the source photo so you can compare the edited version against it.

Build a cleaner product listing

Start with a sharp, well-lit photo of one item. Remove visual clutter, choose a restrained background, and keep the product's shape, color, labels, and edges recognizable. Inspect handles, reflective surfaces, and fine print before using the result in a listing.

Make room for a social headline

Choose a portrait or product shot with a clear subject. Extend the canvas toward the side where the headline will sit, then place your copy in that open area. Check that newly generated hands, clothing, props, and surroundings do not introduce details you did not intend.

Prepare a sharper draft for sharing

When an otherwise useful image looks soft at the size you need, try enlarging it and compare the output at its intended display size. Look closely at lettering, hair, jewelry, and fabric texture; an upscaled image can look smoother without recovering detail that was never captured.
What an example output should show

Compare the edited image with its source rather than judging a polished result in isolation. This checklist makes each example more useful.

Source photo Useful edited output
1

Subject

Source photo

The item or person is visible, but competing details may pull attention away.

Useful edited output

The same subject remains easy to identify, with no altered product features.

2

Background

Source photo

Objects, seams, or uneven lighting may distract from the subject.

Useful edited output

The setting supports the intended use without odd edges or inconsistent shadows.

3

Crop

Source photo

The frame may be too tight for a banner or too wide for a listing.

Useful edited output

The composition fits its destination and leaves deliberate space where needed.

4

Small details

Source photo

Logos, text, stitching, and fine edges can be checked against the original.

Useful edited output

Important details remain legible and have not been invented or distorted.

5

Color

Source photo

The original provides a reference for the product's actual appearance.

Useful edited output

The edit looks cohesive without misrepresenting the item's color or finish.

6

Final review

Source photo

The unedited file remains available for comparison.

Useful edited output

The exported image has been inspected at the size and crop in which it will appear.

Checks before you publish

An attractive example is not proof that its details are accurate or that you have permission to use every element in it.

An edit cannot verify a product claim

A generated setting or polished finish may suggest features the real item does not have. Pixelcut-style examples should illustrate presentation, not serve as evidence of materials, dimensions, or performance.

WorkaroundCheck the finished image against the physical item and its confirmed specifications.

Expansion cannot reveal what was outside the photo

An extended frame creates plausible surroundings; it does not recover the actual room, outfit, or object beyond the original border.

WorkaroundUse expansion for composition, and photograph a wider scene when factual surroundings matter.

Upscaling cannot guarantee authentic fine detail

Small lettering and textures may look convincing while differing from the source. Free image examples are best judged at the size where viewers will see them.

WorkaroundReplace critical text with verified copy and review a full-size export before posting.

A sample does not grant usage rights

A visually appealing result does not establish ownership of the source photo, a person's likeness, a logo, or other included material.

WorkaroundUse images and assets you have permission to edit and publish.

Put one idea to the test

Start with a specific image goal

Choose one workflow and describe the subject, intended placement, and background you need. A useful prompt gives you something concrete to evaluate; the final image still needs a careful comparison with your source.

  • Keep the original photo for comparison
  • Check edges, text, and product details
  • Review the image in its intended crop

Questions about free examples

The workflows on this page give you three starting points: a cleaner product photo, a composition with room for a headline, and an enlarged draft. Use your own source image and adapt the goal to its subject. What you can create or export may depend on the tool you use, so check its current terms.

Pick one item photographed in even light against a reasonably simple surface. Try a restrained background change, then compare the item's outline, color, labels, and shadows with the original. A subtle improvement is often more useful than an elaborate setting.

That depends on the rights to the source image and any included assets, as well as the rules of the marketplace where you post it. Make sure the edit still represents the item accurately. Review the final crop and export before publishing.

Lighting, source resolution, subject complexity, and the wording of your request all affect the output. Begin with a clear image and change one thing at a time so you can identify what helped. Check small details rather than assuming a similar overall style means the edit is accurate.

Start creating
Start creating