Choose the source photo
Pick a sharp image of the mug with its handle visible. Pixelcut has less ambiguity to resolve when the subject is not cropped, blurred, or hidden behind other objects.
Photo editing
Use pixelcut ai background when the subject looks right but the setting does not. Start with a clear photo, describe the scene you want, then inspect the subject's edges and lighting before keeping the result.
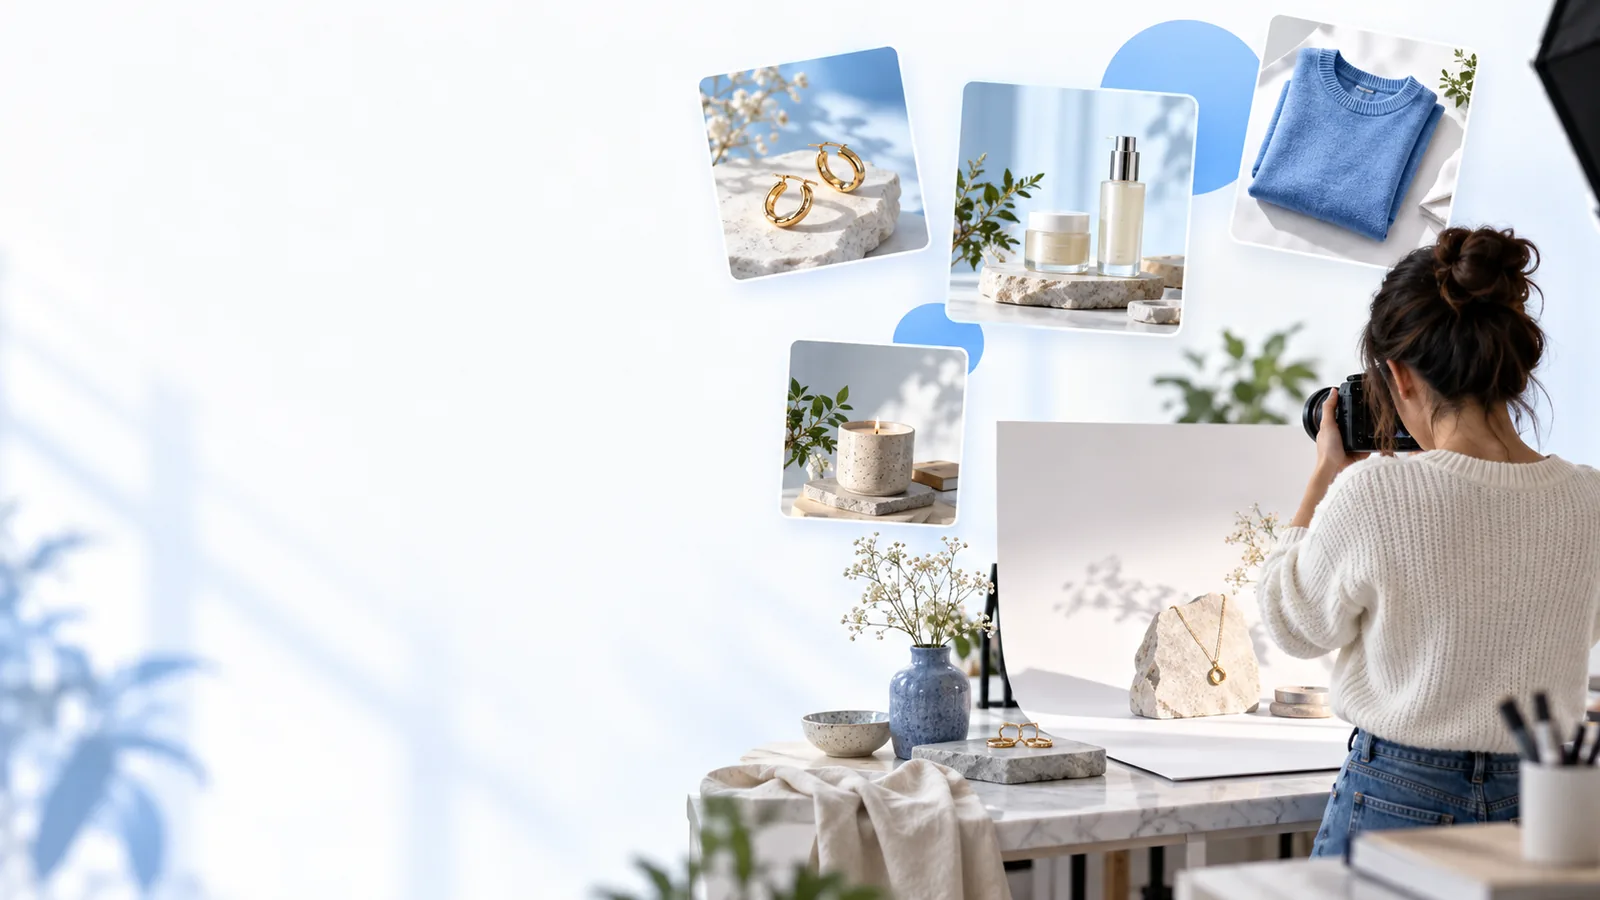
A clean source photo gives Pixelcut a better starting point. Before changing the scene, decide what must stay untouched: the subject, its shape, its label, or a particular color.
Extend a photo's frame when you need more space around the subject rather than a different setting.
Check enlargement options when the edited image needs more detail at a larger size.
Find the browser-based starting point for working on a photo.
For a product photo, keep the item as the reference and change only its surroundings. This pixelcut ai background workflow uses a mug as a concrete example.
Pick a sharp image of the mug with its handle visible. Pixelcut has less ambiguity to resolve when the subject is not cropped, blurred, or hidden behind other objects.
Ask for a wooden café table, soft window light, and a subtle contact shadow. Name the surface and lighting rather than relying on a broad instruction such as “make it nicer.”
Check the handle, rim, printed details, and the point where the mug meets the table. If an edge changes or the shadow looks detached, revise the scene description or try a clearer source.
Changing a scene is not the same as removing it. Choose the route that matches the image you actually need, then judge the output against that goal.
New generated setting
A contextual product or lifestyle scene
Plain or transparent setting
A reusable cutout or simple catalog image
New generated setting
A subject photo and a description of the desired scene
Plain or transparent setting
A subject photo with edges that can be isolated cleanly
New generated setting
Check whether the new scene's light agrees with the subject
Plain or transparent setting
Check whether the original light still suits its eventual placement
New generated setting
Look for a believable shadow connecting subject and surface
Plain or transparent setting
Decide whether to keep, remove, or add a shadow later
New generated setting
Inspect hair, handles, glass, and fine outlines against the new scene
Plain or transparent setting
Inspect the same outlines against a contrasting plain color
New generated setting
A finished composition that fits its intended use
Plain or transparent setting
An isolated subject ready for a separate layout
A convincing Pixelcut edit depends on the source as much as the scene description. These common failures have different fixes; generating another setting is not always the answer.
The product looks cramped because the original photo cuts close to its edges.
Make room around the subject first, then reassess whether a new scene is needed.
extend the photo with Pixelcut's uncrop toolA small source image looks soft after the new setting is added.
Check whether enlargement improves usable detail; a different scene cannot restore a blurred label.
check the Pixelcut upscalerFine chains or reflective edges blend into a busy surface.
Try a quieter scene with stronger separation between the subject and its surroundings.
prepare more space with the uncrop workflowThe subject's daylight highlights conflict with a dark indoor scene.
Describe lighting closer to the source photo, or choose a source whose light suits the intended setting.
review enlargement after editingStart with a clear photo and name the surface, light, and mood you want. After Pixelcut produces a result, zoom in on important edges and product details before using the image.
It is used to place a photo's subject in a different setting. Review the result rather than assuming only the area behind the subject changed; fine outlines and small details deserve a close look.
Describe a physical setting, a surface, and the direction or softness of the light. For example, a mug on a wooden café table with soft window light gives clearer guidance than “professional photo.”
You can try, but overlapping objects and low-contrast edges make it harder to separate the intended subject. A sharper photo with an unobstructed outline is a better starting point.
Look for mismatched light, an absent contact shadow, or edges that appear pasted on. Try describing a scene with lighting closer to the source photo, then inspect the result again.
Change the setting when you want a different environment behind the subject. Extend the image when the existing scene works but the frame needs more room.